
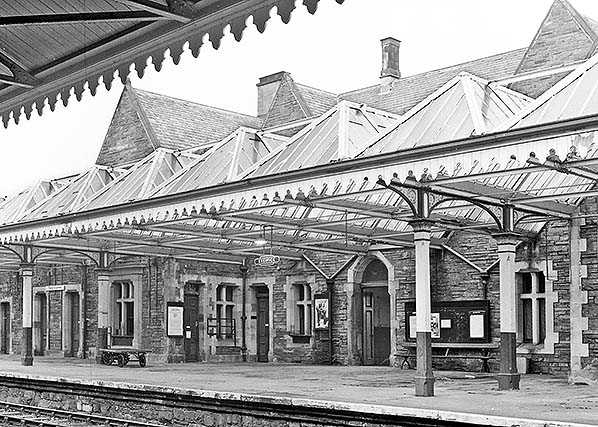
 Keswick station down platform c1970. The main entrance to the station is through the doorway but all the building is now unoccupied as the station is unstaffed.
Photo from John Mann collection 
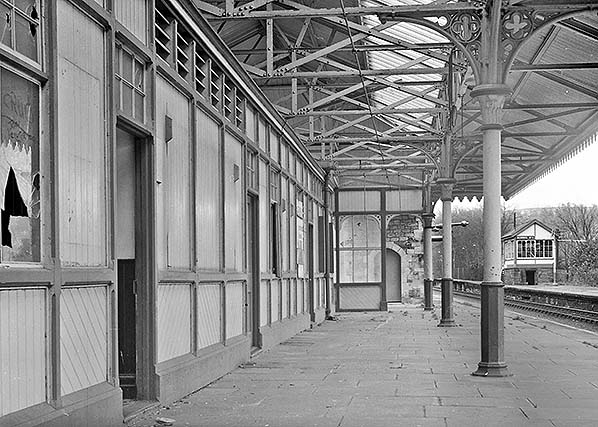
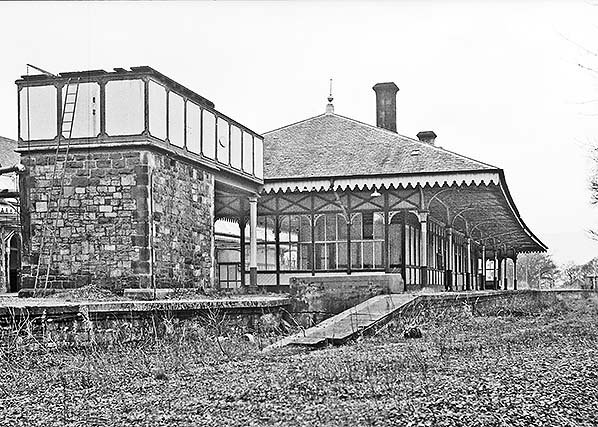
The disused up platform, now devoid of track remains largely intact and in good condition c1970. Note the steps from the platform to track level - as the station is now unstaffed who would use them?
Photo
from John Mann collection
On closer examination the up platform is beginning to look rather shabby c1970. The water tank is seen beyond the canopy with No.1 signal box at the east end of the down platform on the right.
Photo from John Mann collection 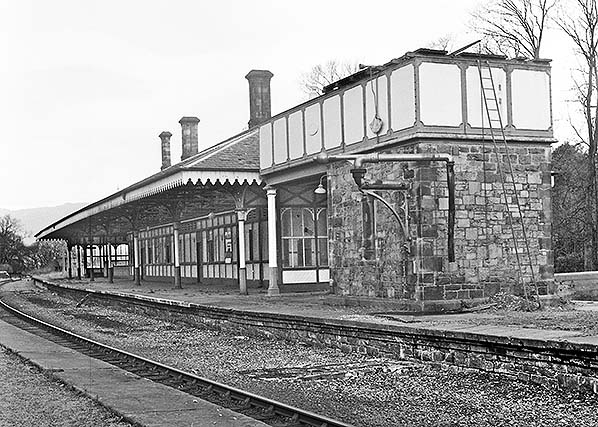
Watering facilities at the east end of the up platform are seen c1970. A large cast iron water tank stands on top of a stone crew room with a water crane ready to swing across the platform.
Photo from John Mann collection 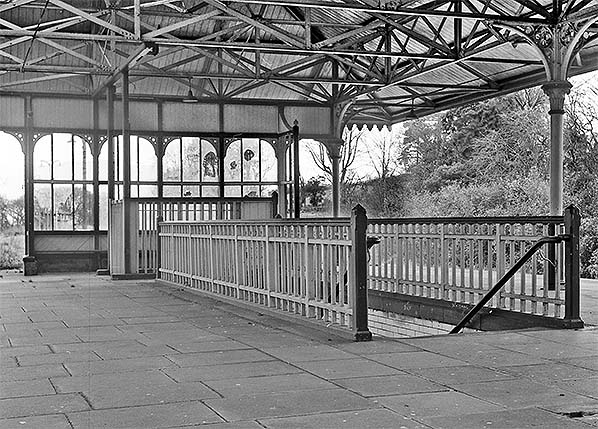 The subway leading from the island platform to the down platform c1970.
Photo from John Mann collection 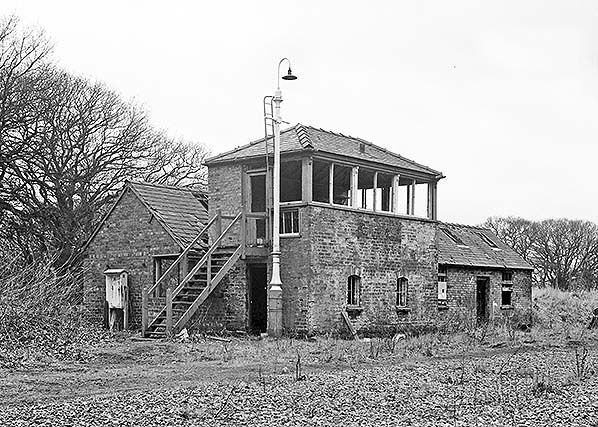
Keswick No.2 signal box (Keswick ‘A’ until c1924) is seen c1970. The workshops behind the cabin also date from CK&P days.
Photo from John Mann collection 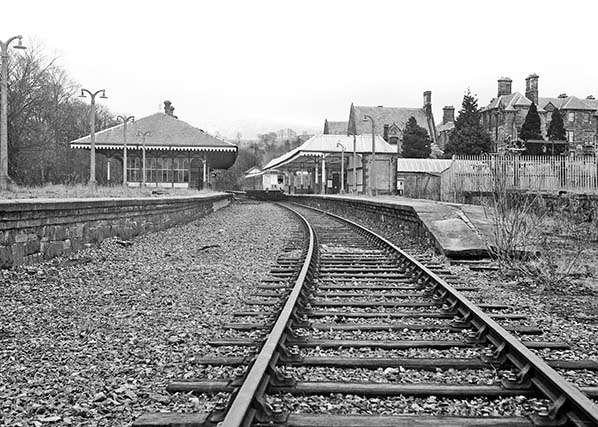
Looking south-east towards Keswick station c1970, the photographer is standing at the end of the track. A class 108 DMU waits in the station before the return journey to Penrith. The disused cattle dock is seen on the right
Photo from John Mann collection 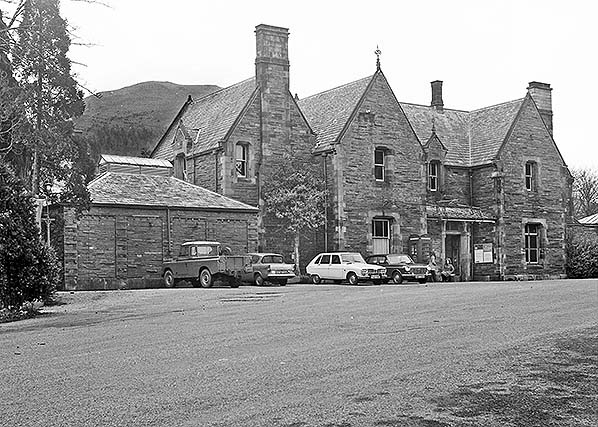
Keswick station forecourt c1970.
Photo from John Mann collection  Looking east at platform 3, the north side of the island platform c1970. A loop ran alongside the platform road; this gave access to the station turntable.
Photo from John Mann collection 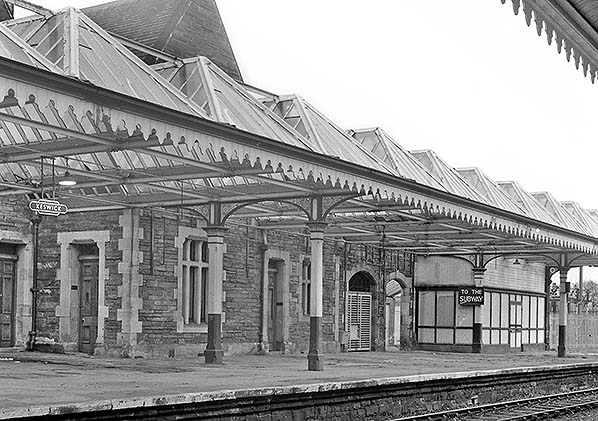
The down platform seen from the island platform c1970. Note the sign directing passengers to the abandoned subway.
Photo from John Mann collection
The water tank and short bay platform at the east end of the island platform c1970.
Photo from John Mann collection 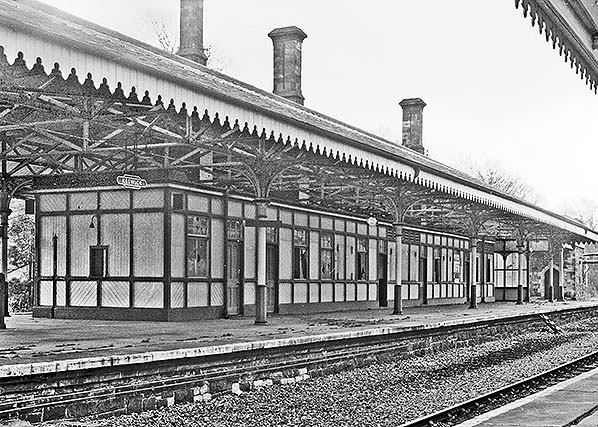
The island platform seen from the down platform c1970. Totem signs remain in place on the abandoned platform.
Photo from John Mann collection 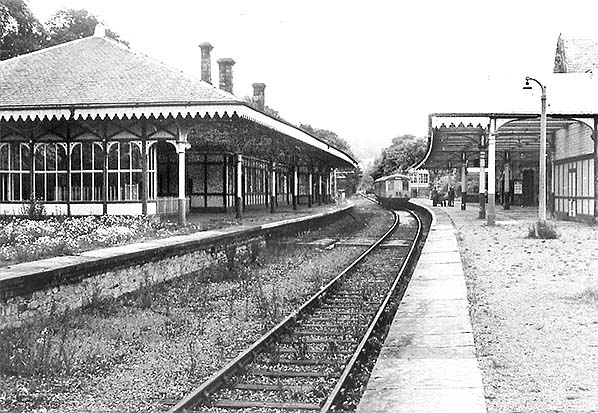 A class 108 DMU from Penrith is seen pulling into Keswick where it will terminate c1970. A class 108 DMU from Penrith is seen pulling into Keswick where it will terminate c1970.Photo from John Mann collection Click here for Keswick Station Gallery 6:
|
 Home Page